


Your website’s Nivo Slider is a “display window” (example below) in which you can place pictures and captions. To access and configure the Nivo Slider, go to structure and Nivo Slider.

Creation of a Nivo Slider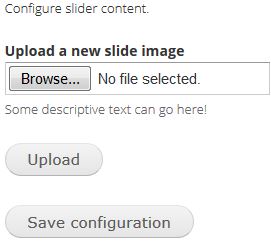

- Once you’ve gone to structure and Nivo Slider, you’ll need to choose an image (or more than one images) that will appear. As shown right, select “Browse” under Upload a new slide image, and select a photo. Upload.
Note: Before adding photos, crop each image as necessary to make sure the images you upload are all the same size.
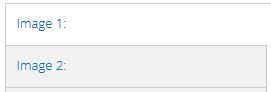
- After you upload, you’ll be sent to a page where you can specify how you want each image displayed. You can add more images through the same mechanism you used in Step 1, and they’ll appear in the order they were uploaded (shown right).
- Above the list of images (shown right), there is another menu of options. Here, you can re-arrange Nivo photos, select whether or not they’re published, or select to delete them; note than none of these changes will be saved until you click save configuration at the very bottom of the page.
- If you select an image (“Image 1:” or “Image 2:” etc), you can give it a Title, Description (here, make sure to change the Text format to Full HTML before inserting text), you can Link slide to URL, decide to Show slide on specific pages, and select the Transition style in which the slides will progress.

Note: To Link slide to URL, insert the path of the in-website destination page. Example: for “website.unt.edu/content/example,” insert “content/example.”
- Under the options tab, you can edit slide speed, size, placement, and appearance. For best results, select “Default” under “Theme,” do not enable the use image styles to genetrate slider images function, and click save configuration.
- Save configuration to save changes.
On-Page Placement of the Nivo Slider
To send the Nivo Slider to a block region (as shown in the first example above), go to structure and Blocks. Drag the Nivo Slider block up to the region in which you wish it to fall (recommended: Preface First). Click save blocks to save.
Now, your Nivo Slider will be visible on all pages of your website.
Note: You’ll notice that text saying “Nivo Slider” is above your published Nivo Slider. To take this away, go back to Structure>Blocks, find the Nivo Slider block, click configure, and under “Block Title,” replace title with <none>.